Invite Your Team and Roles
Every teammate gets their own login. Invite them from Settings → Team & Roles.
Invite
Enter a work email and pick a role. Invites are sent by email and stay pending until accepted.
Roles
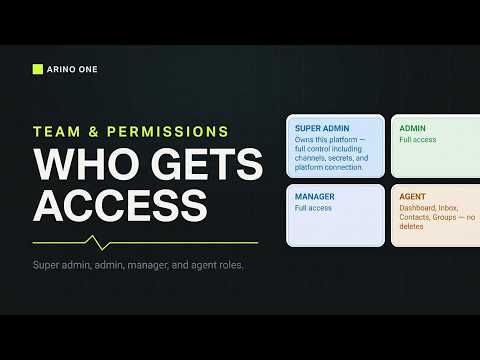
| Role | Can do |
|---|---|
| Super Admin | Everything, including members, roles and secrets. |
| Admin | Everything in the product and managing members, but not Super Admin-only controls. |
| Manager | Campaigns, templates, automations and analytics; cannot manage members. |
| Agent | Dashboard, Inbox, Contacts, Groups and their own profile. No deletes, no settings. |
See User Roles.
Rules of Thumb
Keep at least two Super Admins. Remove leavers the same day.
Steps at a glance
- Open Team & RolesGo to Settings → Team & Roles.
- Invite by EmailEnter each teammate's work email.
- Choose a RolePick Super Admin, Admin, Manager or Agent.
- Wait for AcceptanceInvites stay pending until accepted.
Frequently asked
Which Role Should Most People Have?
Agent. Give each person the narrowest role they need.
How Many Super Admins Should I Have?
At least two, so you are never locked out.
When Does a Role Change Take Effect?
On the person's next page load; ask them to refresh.
Is There a Limit on Team Members?
Plans are sized by team: see Billing and Plans.
Are Role Changes Recorded?
Yes, in the audit log with who, when and what.
Next step
Apply this to your own deployment
This guide describes decisions we make on live platforms. Tell us your channels, systems and region and we will map it to an architecture outline, a provisioning plan and an indicative commercial model — usually within one business day.